This pattern came out in 2011. I loved the oversized bias collar, the shirtdress styling, the pockets and little cap sleeves. I bought the perfect fabric online and then plopped it and the pattern into one of my many project bins and sewed something else. I don't know why I do this so often. Maybe I'm scared of ruining my perfect fabric or I don't want to make something very challenging. Whatever the cause, I am working on sewing some of those long-planned garments this summer, and this was the first up.

I cut my normal size 10 up top, tapering to a 12 for the waist and hips. Boy was that muslin tight!!! The pattern has 35" for the size 10 bust printed on pattern piece 1, but there is no way that is accurate. Probably it would have been a good idea to flat measure it with a tape measure but I almost never do that. At least I made a muslin to iron out the fit issues! Anyway, after I added 1" to the bust and 1.5" to the waist, the fit was excellent. (Although after viewing these pictures I probably could have added a bit more to the back waist.)

A review for this pattern on patternreview.com sighted that the lower dress placket opened up when the wearer sat down. I did not want this to happen in my dress, so I continued the buttons down the dress and omitted the hidden buttons. Speaking of buttons, I had THE HARDEST TIME finding any that worked with this fabric. The only ones I could find locally were either extremely cheap looking or the wrong shade of silver. I finally decided to order 3 different silver buttons from Mood fabrics, then settled on these you see here and got them with my June Mood money. I sewed them on with gray thread and used thread shanks to help the fabric lie flatter.

This fabric is a silk and linen blend with silver threads running throughout. The large collar is a fun design feature and helps to even out my small upper torso.

I almost didn't put these pockets on because I was worried they might make my bottom half look wide. However, this dress looked really plain without the pockets so I went ahead and sewed them on. The proportion seems to work because the skirt has some width to it.

Dressform pictures:


When I tried this on and sat down, areas between the buttons jutted out in an unflattering manner. I added 3 waistband closures to combat this, which you can just see in the picture below. And just in case you were wondering, the second button from the top is not buttoned because my dressform is now slightly bustier then I am. When my daughter weaned herself at 10 months of age, I sadly became even smaller in that area then I was before I was pregnant with her.

I used ivory Ambiance that I had in my stash for the lining.

The directions for installing the sleeves with the lining did not make much sense to me. I simply stitched them to the dress fully lined, then used bias tape to finish off the edges, and only had to do a tiny bit of slip-stitching around the top of the sleeve where I couldn't get the machine.

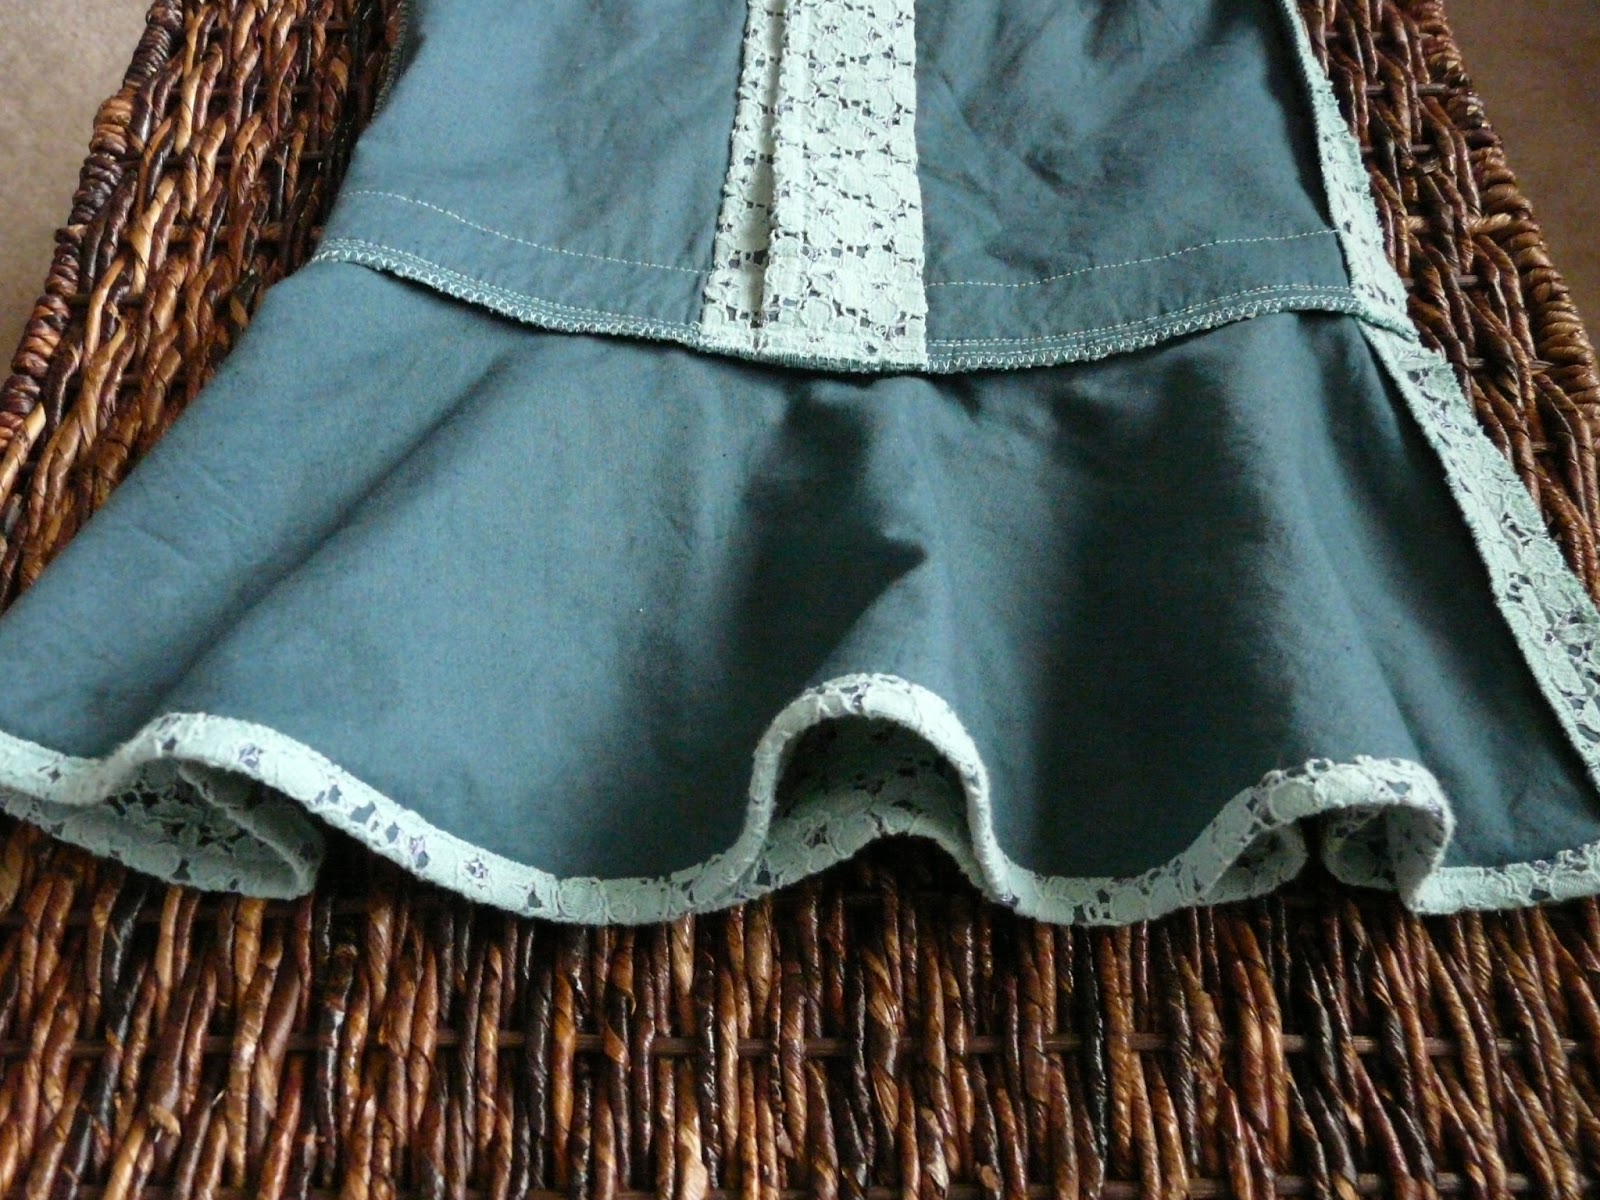
The directions have you slip-stitching the bottom of the lining to the dress hem like you would a jacket lining. This made my outer fabric pool at the hemline. After ripping that all out, I hemmed the lining with a small 5/8" double folded hem and left it to hang freely from the dress hem. Can you believe neither of my local fabric stores carry any ivory hem tape?! I had to go looking amongst all the laces to find anything appropriate for a pretty hem finish.

This pattern is a Pamella Rolland design from her Spring 2010 collection, which you can view here if interested. It is a unique dress and a fun addition to my wardrobe.
 |
| Vogue 1233 |