Showing posts with label topstitching. Show all posts
Saturday, April 15, 2017
Spring 2017 Sew-Along: Finishing
Welcome to week 7 of the McCall's Spring 2017 Sew-Along! This week I'm discussing the finishing steps, which are short and sweet. This is the last week before the big reveal and I'm getting really excited to see your finished overalls or pants!
Lets get started:
Friday, April 7, 2017
Spring 2017 Sew-Along: Bibs and Waistband
Welcome to week 6 of the McCall's Spring 2017 Sew-Along! This week I'm blogging about steps 35 through 61. That's a lot of steps, but it's very straight-forward, so this one won't take too long to get through.
Week 1 - Announcement
Week 2 - Inspiration Fabrics
Week 3 - Making a Muslin/Toile
Week 4 - Darts and Pockets
Week 5 - Seams and Zipper
Week 6 - Meg's tutorial for adding a facing instead of a waistband
I'm following the instructions to the letter, with the exception of adding a bit of topstitching to the waistband and leaving off the interfacing. Since I topstitched the crotch seam to the left on the pants, I'm also going to be pressing the bib seams to the left.
Friday, March 31, 2017
Spring 2017 Sew-Along: Seams and Zipper
Welcome to week 5 of the McCall's Spring 2017 Sew-Along! This week I'm covering steps 14 through 24, which is a lot of information, so grab a cuppa and lets get started.
Week 1 - Announcement
Week 2 - Inspiration Fabrics
Week 3 - Making a Muslin/Toile
Week 4 - Darts and Pockets
The first thing to note is that I'm making the overalls view with the tapered legs. I'm wanting a traditional denim look for these, so am adding topstitching to the leg sides as well as switching up the mock-fly to look less mock and more real. If you are making the pants version like my co-host Meg and only need directions for the lapped zipper, feel free to skip to the end where I'll show you those steps.
Friday, March 17, 2017
Spring 2017 Sew-Along: Making a Muslin/Toile
Welcome to week three of the McCall's Spring 2017 Sew-Along!
Week 1 - Announcement
Week 2 - Inspiration and Fabrics
This week is all about making a muslin to perfect fit. I usually make muslins when I'm using a pattern that's a fitted design and I don't want to waste my fabric if it doesn't turn out. It takes more effort then just jumping in but I'm always glad when I take the time to do it.
Okay, let's get started.
Monday, March 13, 2017
Marine Green Faux Suede Dress
I purchased this fabric from Moodfabrics.com a few years (!!!) ago because it was on big-time sale and I thought the color was pretty. The quality is really nice and you can NOT tell it's fake except that it comes out of the laundry looking exactly like it went in. I lamented forever about what I wanted to make it into. I really wanted a skirt but thought the color would give me trouble when having to pair up with a matching top. McCall's 7466 was recently released with the envelope drawing showing a view in suede, and I knew instantly what my fabric wanted to become!
Sunday, January 29, 2017
Black Embossed Scuba Knit Dress
I have a love/hate relationship with scuba knit. On the one hand it's a really interesting fabric and the weight and slight insulation properties make it perfect for Texas winters. On the other hand it does not like to stay pressed and I like a crisp seam. Most of the time I stay away from buying it because of its challenges but this fabric was so unique that I had to have it.
The fabric is an embossed scuba knit and was purchased from Mood fabrics. It was sold out long ago so I can't link you to it. I actually made a pair of pants from the same fabric in March of 2015, but those had the annoying habit of not staying at my waist and were soon after donated. I loved the fabric, though, so I ordered another cut of it and vowed to make a dress of some sort. Inspiration struck when the new McCall's spring pattern were released in early January and I fell in love with the high neck version of 7539.
Wednesday, January 18, 2017
A New White Blouse From an Old Burda Magazine
I had a Burda (then Burda World of Fashion) magazine subscription for a number of years, starting in August 2008 and use to sew from it quite a bit. I know lots of you dislike tracing and hate the crowded newer pattern line sheets even more, but for me that was never an issue. I have a background in construction and was trained to read building blueprints, so the lines of the pattern sheets don't make my eyes cross. I stopped my subscription in 2012 because I was no longer inspired by the shapeless garments they were putting out, but would still buy the occasional single issue from GLP international if something on the Russia Burda sight caught my attention. Still, though, I got out of the habit of tracing and my backlot of magazines was left abandoned on the shelf. The good thing about having this collection is that when I want to sew something very specific, I can usually find it in one of my magazines. Such was the case for this blouse, which I made purposefully to wear with one of my favorite jackets. (I posted a few pictures with it and the jacket at the bottom of this post, if you want to skip all the pattern information.)
Sunday, January 8, 2017
Plaid + Black Color-Blocked Tracy Reese Knit Dress
This dress has now been updated!
The color blocking trend is alive and well. In fact, I have a whole Pinterest board dedicated to it. To me, color blocking is using two or more of the same type and weight of fabrics in the same garment. Not to be confused with mixed materials, which is two or more different types of materials used in the same garment. (Of which I also have a Pinterest board for.) This silhouette - cropped top over midi skirt - seams to be a current favorite, and is a look I wanted to try out.
Labels:
cobalt blue,
color-blocking,
designer patterns,
Mood fabrics,
sewing,
topstitching
Wednesday, December 28, 2016
Brown + Hot Pink Double-Breasted Jacket
The only thing good about cold weather is cute outerwear.
I say this every year because I really don't like winter but I really do like coats. They make it bearable, and I have a number of them. You can never have too much outerwear IMO. Yes I live in south Texas. Having a nice wardrobe means being prepared for any occasion and that includes weather.
Labels:
designer patterns,
sewing,
silk,
topstitching,
wool
Sunday, July 31, 2016
Simplicity 8014 - Denim shirtdress w/ white topstitching
When this pattern came out last year I knew that I wanted the EXACT same dress as the example on the envelope. I chose a nice weighty denim from my stash which I have no idea where I bought it from nor what project it was purchased for. It has a good bit of stretch which I thought would be great for a somewhat fitted casual dress.
I cut a size 10 through the bust, tapering out to a 12 at the hips and through the shoulders. I also added 2 inches to the hemline. Probably I could have gotten away without the extra length since the top offers so much coverage.
I left off the in-seam pockets and folded the back into an inverted pleat instead of having gathers per the instructions. In this thick of a fabric I was worried the gathers might look funny and not lay flat.
I decided to add an elastic casing to the waist to give the dress even gathering distribution.
Dressform pictures:
The elastic waist casing was stitched with navy thread so that it disappears under the fabric belt. The buttons I purchased at JoAnn's.
Back inverted pleat:
Because my denim was so thick, I decided to use a contrasting fabric in various areas to cut down on bulk. I made a dress out of this fabric years ago and saved the remnant because I thought it was so cute.
Here you can see the contrast fabric at the inside yoke, waist casing and hem facing.
It's too hot to wear this dress currently - it's more of a fall outfit. I'm not sure why I decided to make it in the middle of July, but now I have a fun new outfit for when the weather turns slightly cooler.
Here's a photo bomb by my baby girl. She's nearly 6 years old and will start kindergarten in three weeks. Time is flying by with these kiddos!
I cut a size 10 through the bust, tapering out to a 12 at the hips and through the shoulders. I also added 2 inches to the hemline. Probably I could have gotten away without the extra length since the top offers so much coverage.
I left off the in-seam pockets and folded the back into an inverted pleat instead of having gathers per the instructions. In this thick of a fabric I was worried the gathers might look funny and not lay flat.
I decided to add an elastic casing to the waist to give the dress even gathering distribution.
Dressform pictures:
I topstitched with white thread. The sleeve treatment is really interesting. That's a topstitched tuck instead of a bottom sleeve band, and the way it's sewn together there's no need to finish the edge or sew an invisible hem.
Back inverted pleat:
Because my denim was so thick, I decided to use a contrasting fabric in various areas to cut down on bulk. I made a dress out of this fabric years ago and saved the remnant because I thought it was so cute.
Here you can see the contrast fabric at the inside yoke, waist casing and hem facing.
It's too hot to wear this dress currently - it's more of a fall outfit. I'm not sure why I decided to make it in the middle of July, but now I have a fun new outfit for when the weather turns slightly cooler.
Here's a photo bomb by my baby girl. She's nearly 6 years old and will start kindergarten in three weeks. Time is flying by with these kiddos!
Monday, May 2, 2016
McCall's 7351 - Sleeveless shirtdress in white, green and black floral
Shirt dresses seem to be everywhere right now and this particular pattern is getting a lot of online love. I actually bought this pattern for the pointed hemline view, but decided to give it a go with a longtime stash fabric that I believe I bought locally a number of years ago.
This is a great pattern with lots of nice details - front button band, collar with collar stand, bias bound armholes, pockets, shirttail hemline - but what I love most about it is the way it skims the body but is still loose and comfortable. I've seen this dress belted by a number of others but I plan to wear mine just as you see it here. I cut my typical size 12 and made zero changes for fit. The length was a bit long for my preference so I did cut off 2" before hemming.
This fabric was not fun to sew with. It's 100% polyester and really resisted ironing. I love the print, though, and the fabric has a gridline texture that can be seen in the below close-up. Even though I hated working with it, the dress does not wrinkle in the least when it's worn. It will be great to throw into a suitcase and take on trips.
I love patterns that have pleated center backs instead of gathering. They lay nice and flat against the skin.
Of course I love all the topstitching on this dress and chose to do mine in black. Originally I sewed on black square buttons, but they completely disappeared on the dress so I replaced them with some simple white ones. I will always opt for pockets on the bodice of garments to give my bustline a little oomph.
When I make this pattern again I plan to raise the armholes about 1/2" as they're a little low. My undergarments don't show but I have low-set armpits (if that even is a thing) so keep that in mind if you're planning to make this dress.
Friday, March 20, 2015
Vogue 1378 - Black pants in embossed knit + baby pictures
Big deal, right? I’ll bet you make pants all the time. You’re a wizard at crotch curves and the fish-eye dart and all the pants making things. Yeah. Well, in all the almost 7 years I’ve been blogging (!!!) I think I’ve made one pair of pants and one pair of knee-length crops. Oh and a pair of shorts or two. I’m not scared of them per say, it’s just that I’m more interested in making things that I can’t afford to buy or can’t find to fit me very well. Pants I can readily find in stores at prices I’m willing to pay, so unless it’s a unique design or some sort of suit coordinate, you probably won’t find me stitching any up.
These happened to be a unique design. Also they have loads of topstitching. (The 
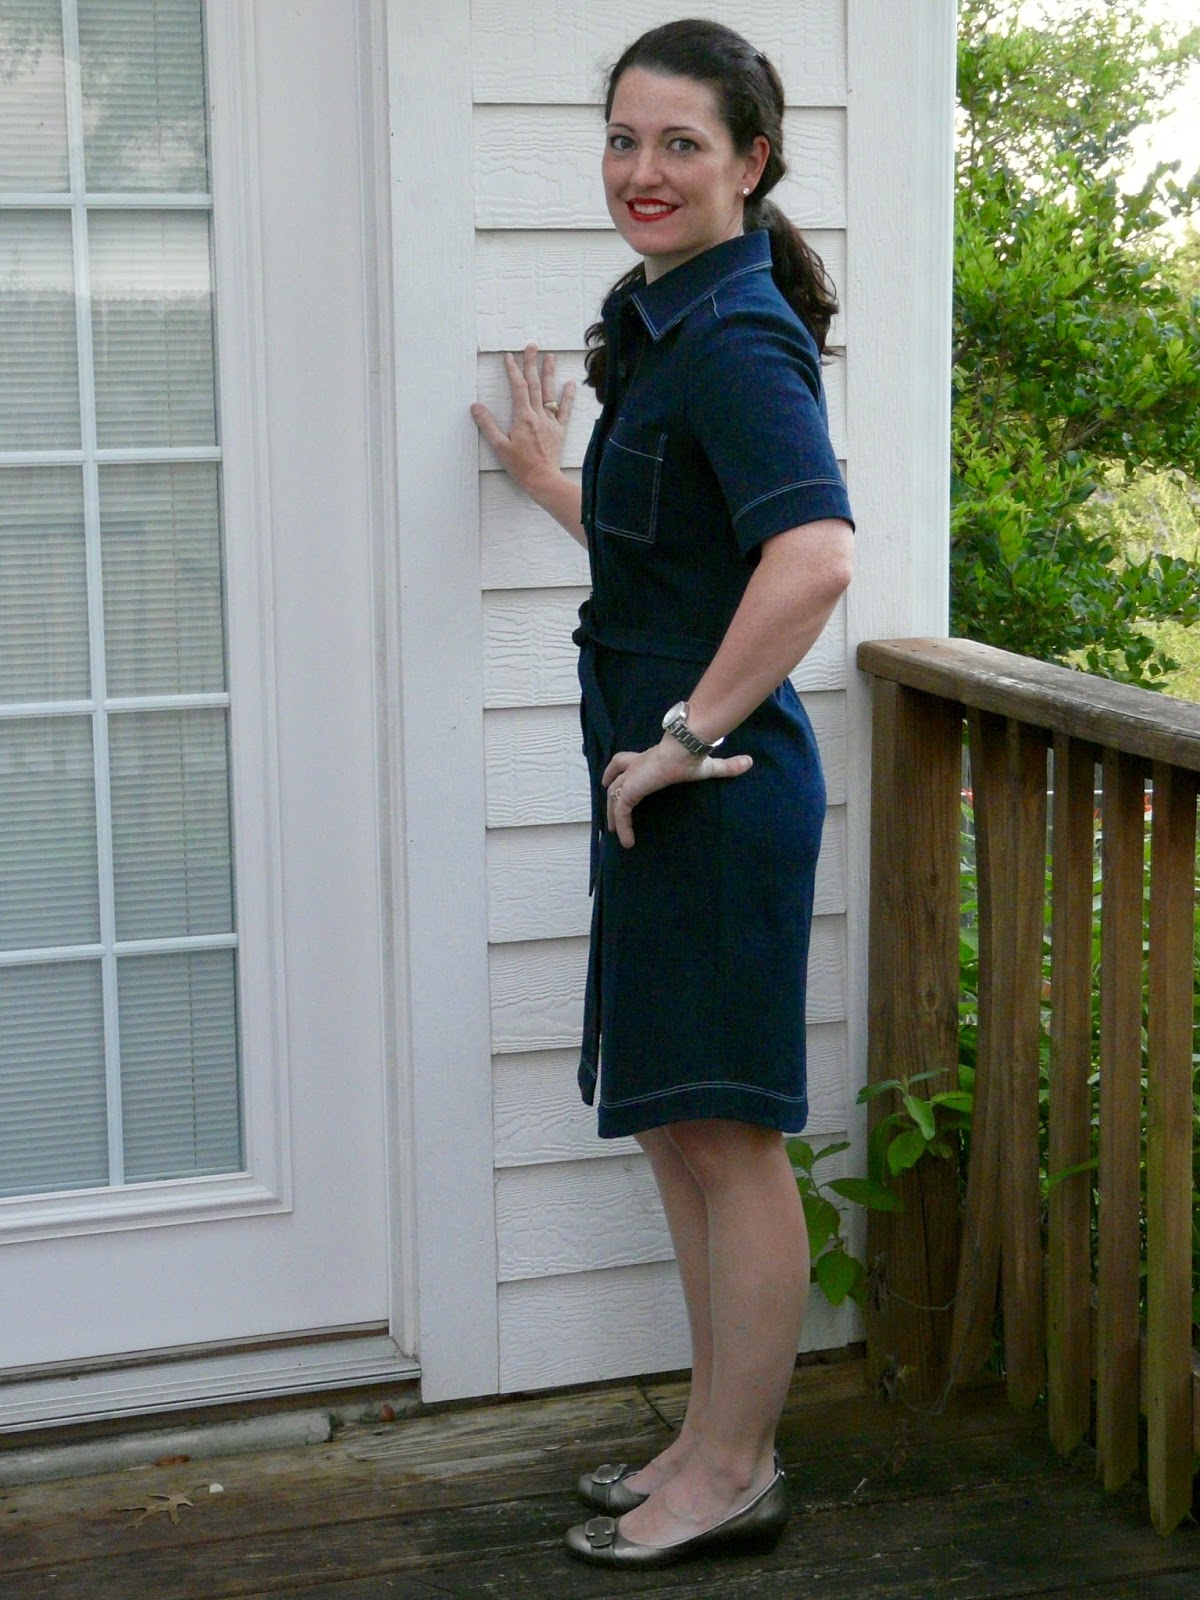
top I'm wearing in these pictures is Vogue 8536, made way back in November of 2008.)
The pattern is Vogue 1378, part of the Donna Karan designer collection. You can see nothing of significance in the envelope picture, but the line drawing revealed some really cool construction lines, fun vented hemline, and miles of topstitching. I had to give them a try, but first I had to find the perfect fabric. I read the description for this black floral ponte de roma on Mood Fabric’s website and was intrigued. After my swatch came in the mail I knew instantly what I was going to do with it.
You probably thought they were just plain black, right? In normal lighting conditions the embossed floral motif is subtly noticeable. This fabric is really soft and has a slight sheen to it. Most of the construction of these pants are unfinished lapped seams, so the fact that my fabric didn’t fray or curl in the slightest made it perfect for the design.
There was quite a bit of thread switching going on while I was working on these. First I would stitch them together with black thread to get the placement right, then I would go back with heavy duty gray thread to do the 2 rows of topstitching. It was very much like a puzzle – I had to stitch together two pieces, topstitch, trim the excess away, rethread back to black, figure out where the next piece went, get it positioned, and repeat the process again.
Before cutting out the fabric I made a muslin out of an ugly stretch woven from my stash. It revealed that the pattern was super long, really tight from the knees down, and really tight at the hips. I decided I wanted to leave the bottom of these unhemmed, so I trimmed away the hem allowance as well as another inch in length. I also took an inch of length out around the knee area in a process that is too convoluted to describe. Then I added 3″ to the bottom leg width, tapering to nothing right above the knees. I added 2″ to the width of the hips and lengthened the top of the pants 1/2″.
A sharp scissors and a steady hand is a must if you are thinking of making these up.
The waistband is a simple fold over elastic one. The instructions want you to cut the elastic to your waist measurement plus 3″, which I totally ignored. I can’t have my pants falling down while I’m chasing my kids around!
I had a lot of fun making these. After the muslin and the altering of the pattern was completed, the actual sewing went quickly. This design is pretty unique, but I just might make it up again if ever I run across another perfect fabric.
Now, I want to let you in on a little secret. This fabric is not really ponte de roma at all - Mood has mislabeled it. Is is actually a nice weight scuba knit, which I have been wanting to work with for awhile. When I got my sample in the mail I knew instantly what it was. If you've been wanting to try your hand at working with scupa I would snap some up. At $14 a yard and in black it's an awesome buy. The thing with scuba fabrics is they don't want to lay flat at the seamlines. I did try ironing it at first but the heat made the embossed pattern disappear from the fabric face somewhat. For the interior leg seams I topstitched in black thread. The crotch seam is the only thing that's not topstitched down, but it's only a small part of the garment and doesn't bother me.
Here's a few pictures of my baby boy in case you want to see how he's growing. He has the most beautiful blue eyes. My mother and FIL both have blue eyes, so the gene is on both sides of our family, but Joshua is the only one of us that got them. His hair looks like it will either be blond or strawberry blond. Only Nathan was this bald as a baby and he has red hair.
Note: This fabric was purchased with my Mood Fabrics monthly allowance, as part of my participation in the Mood Sewing Network.
Labels:
designer patterns,
kids,
Mood fabrics,
scuba knit,
topstitching
Wednesday, February 11, 2015
Vogue 1317 - Gray wool knit dress w/ black topstitching
When this Chado Ralph Rucci designer pattern first came out in 2012, I snapped it up faster then lightning. Interesting seam lines and loads of topstitching? It practically had my name written on it. Of course it had to marinate in my stash for a few years while I mulled over the changes I wanted to make.
The first two givens were to eliminate the front ties and raise the neckline slit. I don't find extra bulk around my waist to be flattering. Also I wanted to carve out the neckline a bit because of my phobia of feeling choked. I'm not a pockets-in-the-dress lover so I left those off. I lengthened the bodice 1 3/8" for a long torso adjustment. (Can that be a thing, like the FBA? If I start typing LTA, will y'all know what I'm talking about?) Because of the added length at the waist, I didn't have to lengthen the bottom at all.
I liked the length of the sleeves on the designer example but I noticed that other people who made this pattern had sleeves a little above their wrists. I cut my sleeves 2.5" shorter and used the sleeve facings from a bigger size. The fabric is a beefy wool knit I've had in my stash for years. I actually used a bit of it for this colorblocked dress I made 3 years ago, so was on fabric fumes for this dress. (I got rid of that dress years ago during a closet purge. It was too short and always made me feel self conscious.)
I cut the size 10 for the bodice, tapered out to a 12 at the waist and hips, and got a very nice fit. This is my usual Vogue sizing, but I did use a knit. The fabric suggestions for this dress are doubleknit and synthetic suede. I don't know how much arm mobility you would have with a woven fabric, but you'd definitely need to go up a size.
When I got the top finished and tried it on my dressform, it was really roomy under the bust and around the front waist seaming. On the original, the ties pull this area in for a snugger fit. As I had left the ties off my dress, I chose to add darts. I didn't have enough fabric to re-cut the front waist inset to make it smaller, so I put a seam down the center. It's not topstitched and blends in pretty well. I also had to add a seam down the center front of the underskirt, which you can't see from the outside. The center front skirt was trimmed on the sides. Each dart eliminated 3/4" of fabric, so I took a total 1.5" off the dress diameter.
I love how the sleeves turned out! The fabric has striations in it, which meet in in Vs along the outer seams.
This design has a TON of topstitching. The seams have a double line and all the openings have triple. I used heavy duty thread and a longer stitch length to make them really pop.
Another thing I loved about this pattern was all the facings included. However, since I had such limited fabric, I was forced to use a different fabric for them. I chose a black ponte knit to match the black topstitching. I think it looks awesome peeking out at the sleeve slits that flip up a little when it's being worn, and at the hemline when I'm walking. I trimmed each facing close to the 3rd line of topstitching.
Dressform pictures:
I had a lot of fun making this garment, but I did get really tired of topstitching towards the end. I have decided I love Chado Ralph Rucci and have been scouring Ebay and Etsy for some of his discontinued patterns. They are mostly all challenging with interesting design details. (Some of his shapes are a little beyond my comfort zone though, like that new coat that everyone on the internet went gaga for.) I adore his newest pattern with the complicated jacket design. Who knows when I'll get around to it though.
Subscribe to:
Posts (Atom)


