Thursday, December 12, 2013

Vogue 1323 - Ivory + black polka dotted silk blouse

I'm in love with silk blouses. Seriously. I wish I had a closet full. The only other one currently in my wardrobe is constantly on repeat. When I saw this beautiful ivory and black embroidered dotty crepe de chine at MoodFabrics.com, I knew just what I'd make with it.


I picked Vogue 1323, a Rachel Comey design. I love this pattern so much for the interesting neckline and and front pockets. Any extra volume I can add to the front of my tops is a welcome addition for this small-busted gal. I also wanted to try my hand at a placket which I'd never done before. I chose to use a contrasting black for that part, picking another silk crepe de chine so that the fabric weights would match.


Sewing with crepe de chine isn't difficult, it just takes a little bit of finesse. You've got to go slow and treat it with loving kindness. I had to take lots of breaks while doing the miles of topstitching on the pockets and pocket flaps. The weight of this fabric was perfect for a blouse and isn't see-through with the proper skin-colored undergarments.


I cut a 10 through the shoulders and tapered out to a 12 through the hips - my normal Vogue sizing. Then I added 2.5 inches to the bottom to make it more of a tunic and 5/8" to each side to accommodate the longer length over my hips. I eliminated the hemline slits and curved the sides up a bit. To the back I added darts to give it a little shape and spaced out the gathers along the yoke.


The neckline of this blouse was a complete bear to sew. When I first began this blouse 3 months ago, I mistakenly used a heavier wool sateen for the placket. It looked AWFUL! The bottom of the placket was so bulky that the silk under it was pulling and puckering. Of course I did not notice this until it was completely sewn to the blouse including the slip-stitching on the inside. I considered trashing it in frustration and had to put it aside for awhile. After a week or two I decided to unpick the neckline and ordered another silk crepe de chine in black to remake that area. I interfaced the outer placket and collar and they behaved, but the inside placket facing gave me so much trouble. Silk cut on a curve does not like to behave and seems to grow. Anyway, I persevered, and I'm glad I did.


I haven't made vented cuffs in a really long time and these were kind of fun. For some reason I chose all four-holed buttons so I had to use thread shanks in order to prevent the silk from puckering.


For those areas that I didn't want an embroidered dot I used my seam ripper and carefully removed it. I had to do this whenever the dots were in a seamline, under the cuffs or on the yoke facing. There is a bit of interfacing sewn under each dot, which makes it a little raised off the fabric.


All the insides were sewn with french seams, including the armhole seam. I wouldn't have attempted french seams while setting in a sleeve except that the pattern instructions called for them. What a beautiful finish for a nice blouse! I'll definitely be doing that from now on.
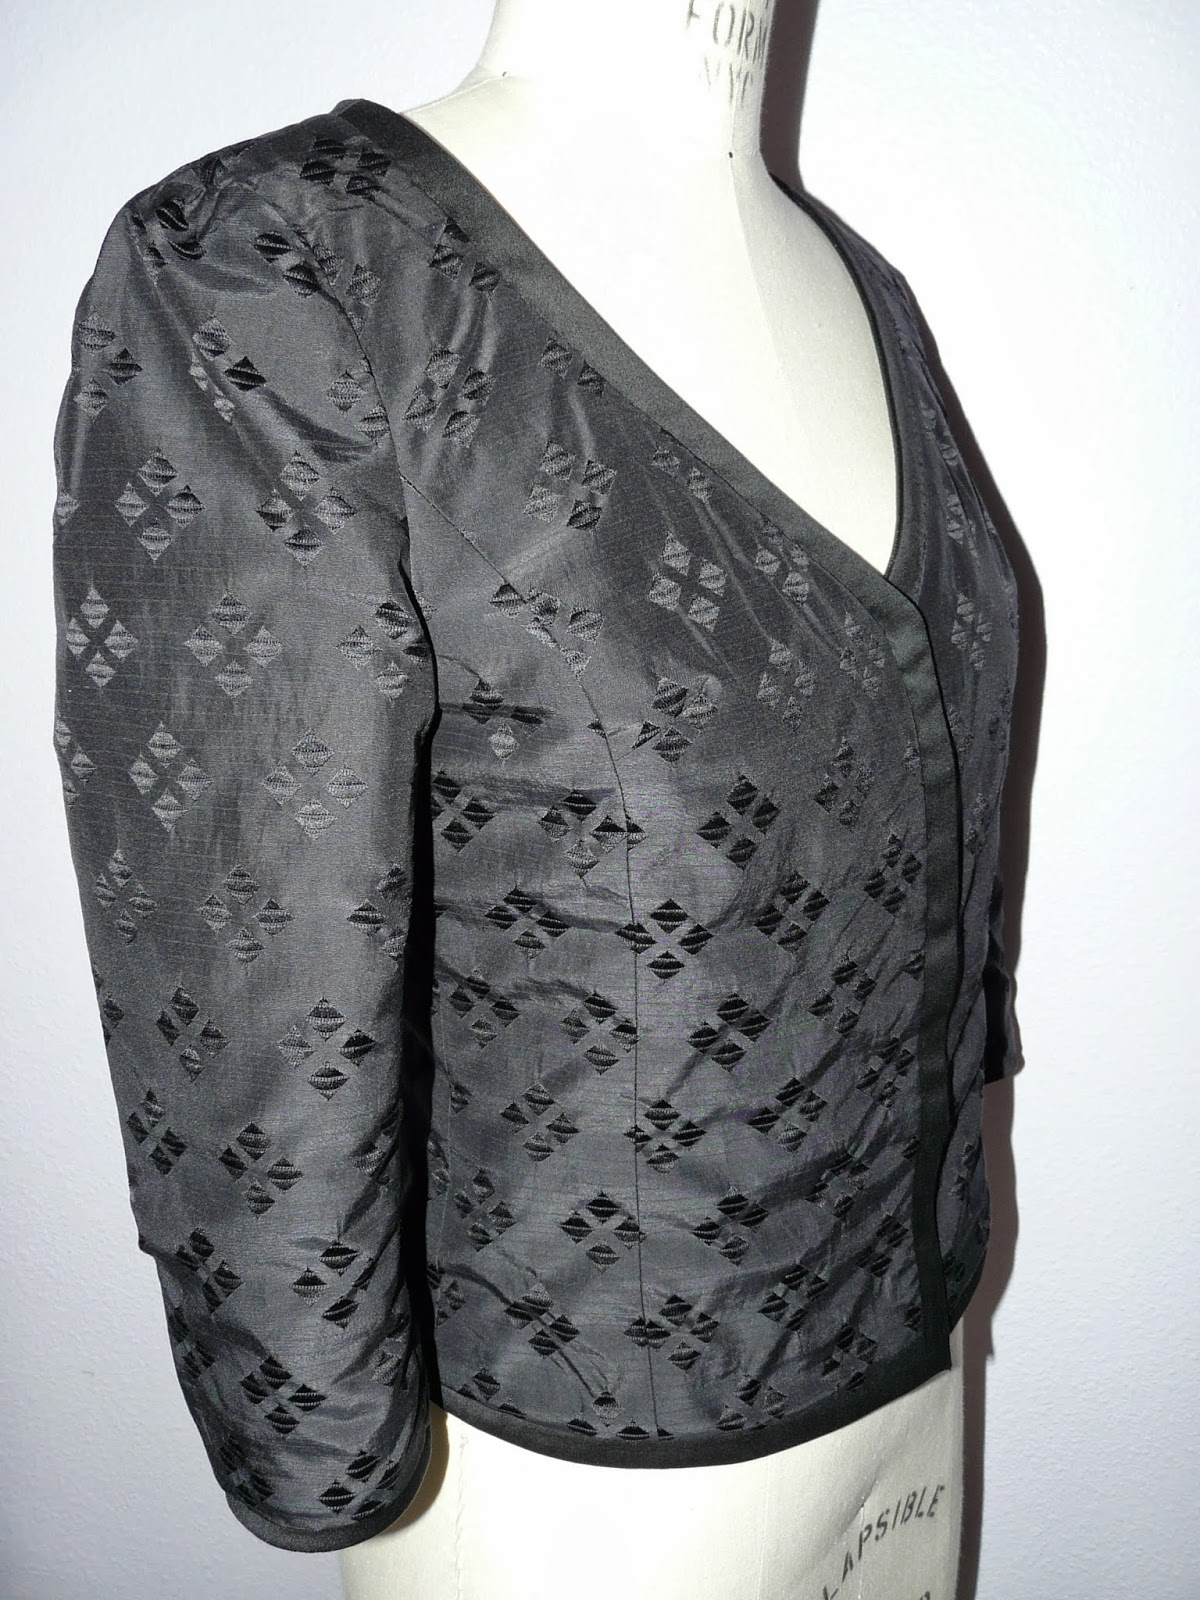

Dressform pictures:


I'm so happy to have this project finally completed and could not be more pleased with the end result.

Monday, November 25, 2013

Burda 9-2008-124 - Pleated ivory floral skirt in Chinese silk charmeuse

I've long been jealous of those bloggers who come home from exotic vacations with souvenirs of fabulous fabrics. Our vacations usually consist of hiking or beaches or visiting family members in small towns without fabric stores, so I never even go looking. I have asked a certain family member (who travels a great deal) to bring me home some fabric from her globe trotting but so far it hasn't happened. So, when my good friend Kelly went to China earlier this year, I asked her if she might bring me back some actual Chinese silk. When she got back from the trip, she called me up to tell me she had something for me. She said it was hard picking one she could see me in, and wasn't sure I'd like it, but I think it's just perfect!


Since the purple of the fabric matched my eggplant military jacket so well, I decided to make some sort of skirt. Picking the right pattern was hard. Silk charmeuse is relatively thin, so I knew I didn't want anything too fitted that might strain the seams. On the other hand, because of the linear layout of the "flowers", I couldn't do anything too draped or with a lot of seams. Most pleated skirt pattern require more fabric because the pleats run around the entire skirt, but I only had 2 meters of 44" fabric to work with. I finally settled on a design from the September 2008 issue of Burda because the pleats are only centered in the front and the back, and I could get each panel out of a crosscut of the fabric. I still have enough fabric left over to make a sleeveless top, which I just may do in the summer for a dress version.


What you can't see in these still shots is that when I move around, the pleats unfold and the print is really on display. I usually hate indoor shots in my house because of lighting issues, but it is stinking cold outside and raining. We tried to find the lightest spot to take these. For some reason they were uploading on blogger very muted, so I went back and saturated the photos with more color. The colors are kelly green and eggplant in real life, sorry if they appear bright and fluorescent on your monitor.


I made a straight size 38 and only had to play around a bit with the waistband, which is a usual occurrence for me and my square shape. I also added a full lining with some off-white ambiance I had in my stash. The lining took some thinking about because I wanted it to hang free from the skirt at the side seams but be sewn with the pleats of the outer fabric to cut down on bulk. To do this I first sewed both fabrics together when making the pleats, then separated them for the side seams and hems.


It is gray and dreary here at the moment, and all of my usual dress form pictures were blurry and dark. Only the lining shot above turned out.

We are off school this week for Thanksgiving, and will be out of town with family for most of that time. Happy Thanksgiving to all my USA readers, and I'll be back again soon with a sweet little dress for Miss Rachel.

Tuesday, November 19, 2013

Jalie 2921 - Scarf-collar top in ivory silk jersey


I liked the fit of my last Jalie 2921 so much I decided to use a nice piece of ivory silk jersey from Mood Fabrics for another one. This time I made the view with 3/4 length sleeves and tied the scarf in a bow for the trendy pussy-bow look. Silk jersey is very lux feeling and has just a bit of sheen. It also has great insulating properties and makes me feel nice and warm on a cool autumn evening. I pre-treated my fabric by washing and drying it before I cut it out. I've found that silk jersey will shrink a bit after the initial wash but then washes and wears with great stability.


I made a straight size T without any alterations. This pattern always goes together quickly. I cut it out and stitched it up the same day. It is such a nice reprieve to not have to match any plaids or line up any linear prints!


I've paired my new top with my lace statement skirt made last March, but it mixes and matches with tons of stuff in my closet. Ivory is really a great and versatile fall and winter color.


I think this neckline is so flattering! There is a small opening in the center front seam through which one of the tie ends passes to make a nice and secure bow.

Dressform pictures:


This was a fun little top to whip together this weekend. I definitely see more silk jersey in my immediate future, as well as more ivory colored clothing!

Sunday, November 3, 2013

Jalie 2921 - Short sleeve yellow, taupe & black scarf-collar top

I needed a quick and easy project after my boucle jacket, so I picked a simple knit top. This pattern was all the rage several years ago, and was even awarded a "best pattern of 2010" award at patternreview.com. However, I have a bit of an ornery streak in me, and I never like to do what everyone else is doing. It's a good and bad trait, depending on the situation. After hanging on to this pattern for multiple years, I have finally stitched it up.


This fabric is some sort of mystery knit I bought off ebay two or more years ago. I think it's a cotton/viscose blend. I liked the yellow background but was completely surprised when it arrived in such a large scale. Originally I'd wanted to tie the ends in a bow, but that completely disappears into the busy print, so I'll be wearing it straight down like a true scarf. I wore this outfit shoe shopping this afternoon and the scarf has great movement. It blew off to the sides while I walked and I felt tres chic!


I used my twin needle and black thread to finish all the hems. This top was so quick that I completed it in just one day of sporadic sewing. That's lightning speed for me! I cut a straight size T with no alterations.


This top was actually a test to gauge the fit. I've a nice ivory silk jersey that I want to use for the tied version, but didn't want to waste my fabric if it didn't turn out to my liking. It turns out I like this quite a bit, and I'll probably have the next version out before the end of the month!

Thursday, October 31, 2013

Hodgepodge Burda - Navy + black plaid boucle jacket w/ leather trim

The navy and black color combo is currently a very popular trend. Even though I still think you shouldn't wear black shoes with a navy dress, I do like them together in fabrics or colorblocked. Which is why, when I spotted this black and almost-navy plaid boucle at Mood Fabrics, I knew I wanted it for something. It's Oscar de la Renta fabric with metallic threads and tiny black sequins, and reminds me somewhat of the fabric used for this dress - also OdlR, and also with sequins.


I decided on jacket 106 from the February 2013 Burda issue, but the quick muslin I made fitted horribly. The no-side-seams detail that I found somewhat interesting turned out to be woefully unflattering. So as not to have to find another similar style jacket and fit that to my body, I used another Burda pattern that I knew to be a perfect fit, 113 from the May 2011 issue, which I made and blogged about here. I transferred the neckline, length of the jacket and sleeves, and binding details, keeping the princess seams of 113.


The black leather was from my stash, from which I have made quite a few garments. This is my sixth garment using leather, and I don't perspire out of nervousness anymore. The only issue I find that gives me any problem is its tendency to stretch too much while being stitched. Usually this is solved by stitching with the fabric side up. Leather can be ironed without issue, and I always use pins IN THE SEAM ALLOWANCE so that the holes they cause aren't visible on the outside. I know other people use clips but I like to use pins and find they hold things more securely then clips.


I paid special attention when cutting the boucle out to match the plaids both horizontally and vertically. I also took special care to make sure they were lined up when stitched together. Oh, I forgot to mention that I underlined each boucle piece with polyester organza. The boucle has a very loose weave and the organza keeps it from fraying uncontrollably. Also, with organza attached, the construction stitches can be seen and removed if need be. Otherwise the thread disappears into the fabric and good luck clipping it out without cutting the fashion fabric.

Dressform pictures:


For the lining I used a black silk Jacquard from Mood Fabrics. Their picture on my screen had a bit of a purple tint, which would have been fine to line this jacket with, but it indeed turned out to be black. I love the fun textural interest it gave the inside. The inner band facings are a wool sateen I got awhile ago from Mood, which has now completely sold out. They were completely interfaced before being stitched together. After the lining was in and all the seam grading had been done, I went around the entire band with needle and thread, stitching in the ditch between the leather/boucle and the sateen/lining. I do like handsewing but that left my thumb really sore.


The last fun detail of this jacket is the oversized snaps used to hold it closed. I'll probably never wear it that way because it somehow ended up a bit too snug, but I like the looks of the tough hardware with so refined a jacket.


There were twelve pieces to the jacket body (it has two-part sleeves). Multiply that by three for the boucle, organza and lining. Add in six multiplied by two for the bands and band facings and that's 48 different pieces of fabric and leather! This jacket was a ton of work! I love it, though, and am excited to incorporate it into my cool-weather wardrobe in both dressy and casual stylings.

Tuesday, October 1, 2013

Butterick 5817 - Blue silk top

I think I might be the last Mood Sewing Network blogger to make a garment out of their great Thakoon designer fabrics. Seriously. But, I'd seen a picture of what the designer used this fabric for, and I couldn't get it out of my mind. That blue solid border wanted to be at the top of a long sleeve blouse, so of course I had to wait for some cooler weather to use it.


This fabric is a silk crepe de chine from Mood Fabrics, which has a neat border print that doesn't show up in their photos. I used silk crepe de chine last month to line my aqua brocade dress, and I'm getting less and less afraid of sewing with it.


Since this fabric is pretty busy, I wanted to use a simple pattern. Finding a slightly fitted simple long sleeve blouse wasn't easy! After combing through all my patterns and Burda magazines, I went looking through patterns online. This is Butterick 5817, and I had to look at the line drawing to figure out exactly what it was doing. I liked the long darts and slightly shaped center back seam. I could not even think of trying to put a zipper in this thin fabric, so the small slit at the neckline really appealed.


I used a fabric covered button at the back, and interfaced the fabric before making it into a button. Experience has shown these thin fabrics will show the sheen of the metal without interfacing. I made a thread loop to hook around the button. This pattern has cuffs at the end of the long sleeves, which I did cut out. The sleeves turned out to be the perfect length without the cuffs, and I decided I liked it with just a small 5/8" hem. The neckline was finished with a strip of bias binding. I had to use the print of the fabric here since the blue wasn't wide enough to fit the entire binding in.


I've been seeing lots of silk blouses on the runways lately, and I wanted one too. Goodness knows you can't find silk anything in mid-priced department stores anymore. I hope to make another silk blouse soon, perhaps with buttons down the front and a collar.

Friday, September 27, 2013

Vogue 1241 - Turquoise + yellow floral dress w/ side gathers

Wow! It's been over a month since I last updated this poor blog. August and September have been soooo busy. We went on vacation to Colorado, started all of the boys' fall activities, enrolled one son in school while continuing to homeschool the other, and I'm slowly getting use to homework/preparing for tests/uniforms/emailing the teacher with various questions/etc. I have been sewing but just haven't found much time to get things photographed and written up. I'm so behind!

Here's my last dress for summer, started at the beginning of August and completed towards the end of it.


This is a Vogue designer pattern by Kay Unger. I have several of her patterns in my stash but this is the first one I've gotten around to. I love the gathers along the front and back waistline, the cross over fronts with pleats at the neckline, and the squared off front panel. I chose a beautiful lightweight cotton sateen from my stash. I'm pretty sure I bought it online somewhere several years ago. You know how I feel about the color yellow...


The real work of this dress was the muslin. Straight out of the envelope this dress really did not fit me well. I started by lengthening the waist by an inch, a common alteration for me. The bust area was disastrous and definitely designed for someone with bigger girls. I didn't like that the back gathers were spaced out a shorter distance then the front ones. After all the fitting issues had been resolved, I carefully laid out my pattern pieces to try to balance the colors across the dress.


Here is a close-up of the neckline. I'm super proud of the fit and love the pleating. There is a small thread tack at center front to avoid possible wardrobe malfunctions.


Dressform pictures:


I used a white invisible zipper at the back and a new-to-me notion - a white hook and eye. This is probably something many of you already know about, but I was really excited to discover it.


For the lining I used a high thread-count white cotton sheeting from Hancock's. I've used this fabric to line previous items, and I really love the way it feels against my skin, especially on hot summer days. I wouldn't use it to line a jacket or a winter dress, but for a summer cotton dress it's perfect. And FYI, the front bodice lining pieces did not match up at all along the bust seam with the outer bodice piece. The lining piece was rather blousy and would have been lumpy looking under my dress without the trimming I gave it.


I like to write all my alterations on the envelope back during the muslin/pattern manipulation phase. Instead of writing out that very lengthy list, you can look at them here if interested:


This was my last summer garment and now I'm on to fall stuff. More soon!